Editing a podcast in DaVinci Resolve can be a straightforward process, especially if you’re already familiar with the software.
Here are 10 steps to guide you through editing a podcast in DaVinci Resolve:
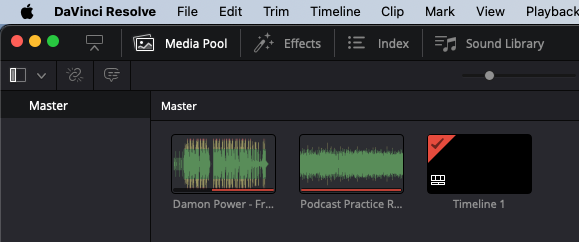
Importing Audio Files:
Open DaVinci Resolve and create a new project.
Import your podcast audio files into the media pool by navigating to File > Import > Media.
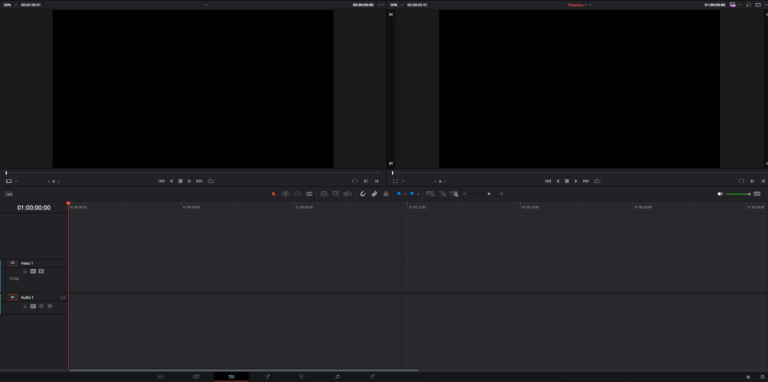
Create a Timeline:
Drag and drop the audio files onto the timeline in the order you want them to appear.
Trimming and Cutting:
Use the blade tool (shortcut: B) to cut out any unwanted sections or mistakes in the podcast.
Use the selection tool (shortcut: A) to select and delete any unwanted parts.
Organising Clips:
Organise your clips by renaming them according to the content they contain, making it easier to navigate.
Adding Markers:
Use markers (shortcut: M) to indicate important points in the podcast, such as topic changes, advertisements, or editing notes.
Adjusting Levels:
Use the Fairlight audio workspace to adjust the volume levels of different clips to ensure consistent audio throughout the podcast.
Apply any necessary audio effects or filters to enhance the sound quality.
Adding Intro/Outro Music or Sound Effects:
Import any intro/outro music or sound effects you want to include.
Drag and drop these files onto the timeline and adjust their placement as needed.
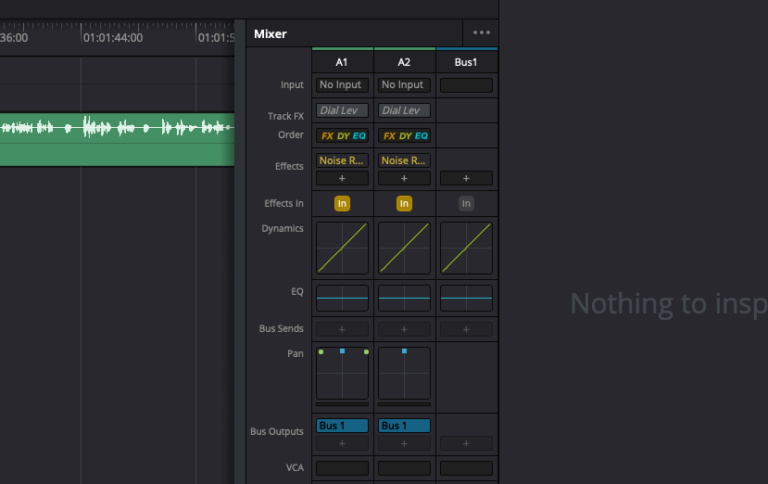
Mixing and Mastering:
Use the Fairlight audio tools to mix and master the audio, ensuring that all elements blend well together and sound balanced.
Exporting:
Once you’re satisfied with the editing, navigate to File > Deliver to export the podcast.
Choose your desired export settings, such as file format, resolution, and audio bitrate.
Final Review:
Listen to the exported podcast to ensure that everything sounds as expected and that there are no errors or issues.
Make any final adjustments if necessary.